If you're considering invisible grill for your balcony or windows, you probably have a lot of questions. How does the installation actually work? How long does it take? What should you prepare? In this guide, we walk you through the complete invisible grill installation process so you know exactly what to expect — no surprises.
Whether you call it gril tak nampak, invisible grille, or stainless steel cable grill, the process is largely the same across Malaysia. Here's how our team handles every project from start to finish.
Step 1: Site Visit & Measurement (Lawatan Tapak)
Every invisible grill installation begins with a free site visit. Our team will come to your home — whether it's a condo, landed house, or commercial property — to inspect the installation area and take precise measurements.
During the site visit, our installer will:
- Measure the exact dimensions of each window, balcony, or opening that needs grill coverage
- Inspect the wall material — concrete, brick, ALC panel, or aluminium cladding all require different anchor approaches
- Check for obstructions like air-con ledges, pipes, or decorative moulding that may affect cable routing
- Discuss cable spacing — standard is 45mm (baby-safe), but 30mm spacing is available for extra security for kucing (cats) and small pets
- Photograph the area for the quotation team to reference
The site visit typically takes 15-30 minutes. It's completely free and comes with no obligation. We cover the entire Klang Valley (KL & Selangor), Johor Bahru, and Penang.
Step 2: Quotation & Confirmation (Sebut Harga)
Within 24 hours of the site visit, you'll receive a detailed quotation via WhatsApp. The quote includes:
- Total square footage of coverage area
- Price per square foot (from RM24/sqft for standard 316 stainless steel cable)
- Choice of aluminium frame finish — black, white, grey, or custom colour
- Any additional charges for complex installations (e.g., curved balconies, extra-tall windows)
- Estimated installation date
Once you approve the quotation, we collect a 50% deposit to confirm your booking. The remaining balance is due upon completion. Pembayaran boleh dibuat melalui online transfer, credit card, atau cash on completion.
Step 3: Installation Day (Hari Pemasangan)
This is where the magic happens. Here's what our installation team does on the day itself:
3a. Setting Up & Preparation
The team arrives with all materials pre-cut based on your measurements. They'll lay protective sheets over your flooring and furniture near the installation area. All drilling dust is contained as much as possible.
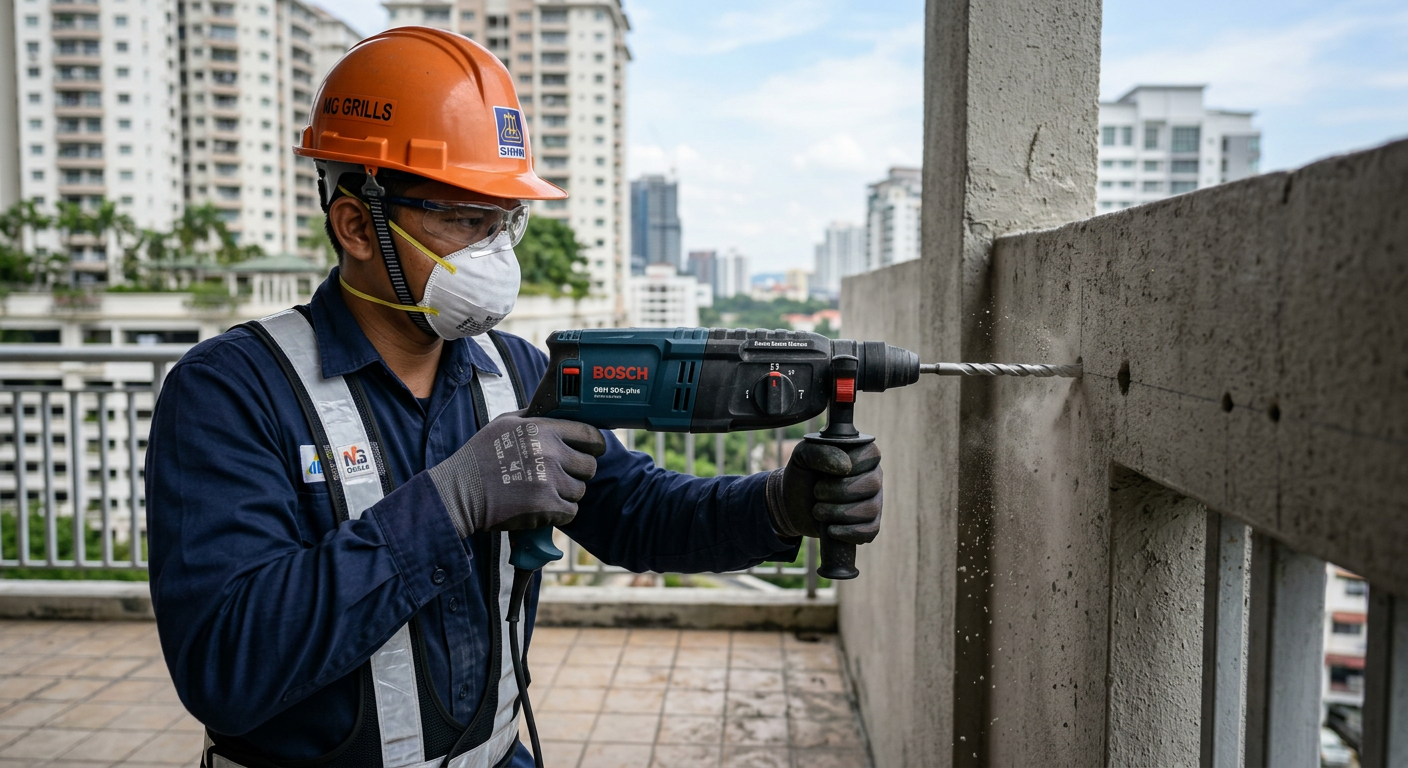
3b. Drilling & Anchor Installation
Using a rotary hammer drill, the team drills precise holes into the top and bottom frame (or directly into concrete) at measured intervals. High-grade stainless steel anchors are inserted and secured with industrial-strength chemical bonding agent for maximum pull-out strength.
Each anchor point is tested individually before proceeding. The anchors must withstand a minimum tensile load — this ensures the cables won't loosen over time even under impact.
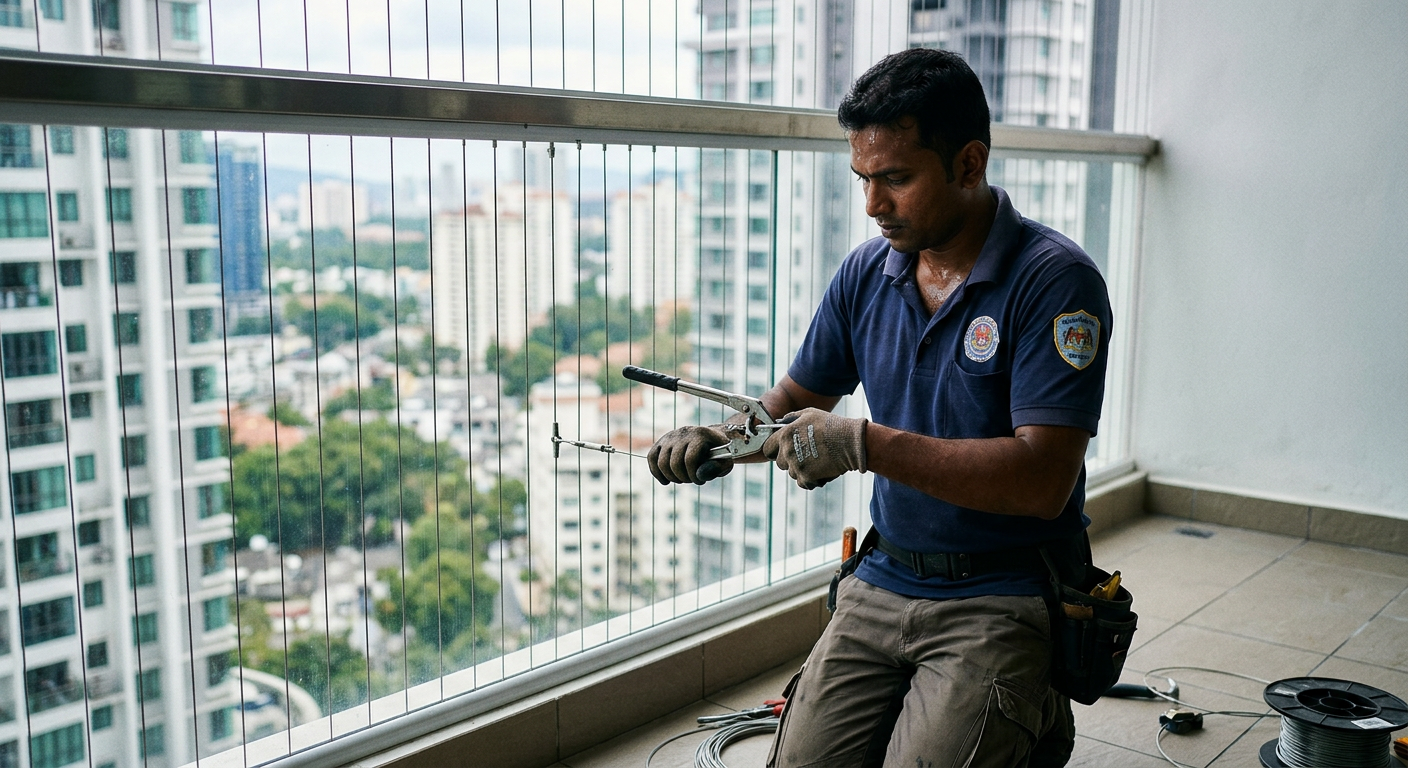
3c. Cable Threading & Tensioning
Marine-grade 316 stainless steel cables (2.0mm or 2.5mm diameter) are threaded through the anchors vertically. Each cable is tensioned using a professional cable tensioning tool to achieve uniform tautness across the entire panel.
The spacing between each cable is carefully maintained at your chosen width — typically 45mm for child safety or 30mm for cat safety. Consistent spacing is critical for both safety and aesthetics.
3d. Aluminium Frame Installation
The aluminium frame is fitted around the perimeter to conceal the anchor points and give a clean, finished look. The frame is available in multiple colours (hitam, putih, kelabu) to match your home decor. The frame is screwed securely into the wall and sealed with silicone to prevent water ingress.
3e. Safety Testing
Once all cables are installed and tensioned, the team performs a full safety test. Each cable is individually checked for proper tension. The frame is inspected for any gaps. A pull test is conducted to verify load-bearing capacity. This step is non-negotiable — every installation must pass before we sign off.
Step 4: Cleanup & Handover (Serah Kunci)
After testing is complete, the installation team:
- Vacuums all drilling dust from the floor and surrounding area
- Wipes down frames and removes any fingerprints or residue
- Removes all protective sheeting and packs up tools
- Walks you through the installation — shows you how the grill works, how to clean it, and what to avoid
- Issues your warranty card — 10-year warranty on cables and 5-year warranty on aluminium frame
You'll also receive a care & maintenance guide (in English and Bahasa Malaysia) with tips on keeping your invisible grill in top condition.
How Long Does Installation Take? (Berapa Lama?)
Installation time depends on the scope of work:
- Single balcony: 1.5-2 hours
- 2-3 windows + 1 balcony: 3-4 hours
- Full unit (all windows + balcony): 4-6 hours
- Staircase railing: 2-3 hours depending on height
Most standard condo installations (1 balcony + 2 windows) are completed within half a day. Same-day installation is available for bookings within the Klang Valley — hubungi kami untuk tempahan segera.
What Tools & Materials Are Used?
Our installers use professional-grade equipment:
- Bosch or Hilti rotary hammer drill — for precise, clean holes in concrete
- Stainless steel cable tensioner — ensures uniform cable tautness
- Laser level — guarantees perfectly straight alignment
- 316 marine-grade stainless steel cable — corrosion-resistant, rated for coastal environments
- Aluminium alloy frame — powder-coated for durability and colour retention
- Chemical anchor adhesive — industrial bonding for maximum hold in concrete
Preparation Tips for Homeowners (Tips Persediaan)
To ensure a smooth installation day, here are a few things you can do in advance:
- Clear the area — move furniture, curtains, and plants at least 1 metre away from windows and balcony doors
- Ensure access — make sure the installer can reach all areas, including behind air-con units if applicable
- Secure pets & children — keep them in a separate room during drilling for safety and noise comfort
- Inform your condo management — some condos require a renovation permit or work notice; check with your management office beforehand
- Plan for noise — drilling generates noise for 30-60 minutes; inform neighbours as a courtesy
Warranty & After-Sales (Waranti)
Every invisible grill installation from InvisibleGrill.my comes with:
- 10-year warranty on stainless steel cables — covers snapping, loosening, and corrosion
- 5-year warranty on aluminium frame — covers colour fading and structural defects
- Free re-tensioning within the first year — if any cables loosen (rare but possible), we'll tighten them at no charge
- Lifetime consultation — reach out via WhatsApp anytime for maintenance advice
Curious about what real customers think after installation? Read our invisible grill customer reviews from 500+ Malaysian homeowners.
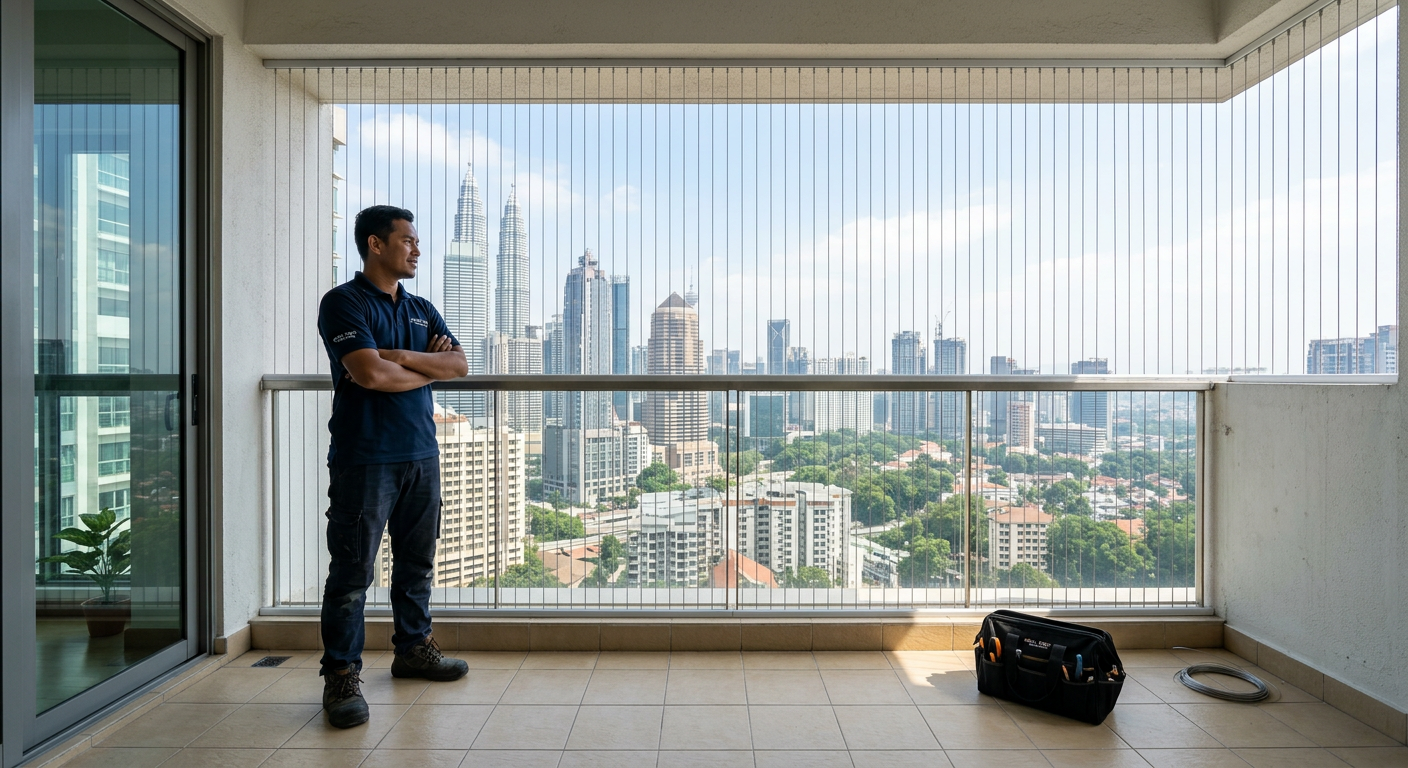
Ready to Get Started?
The invisible grill installation process is straightforward, professional, and designed to cause minimal disruption to your daily life. From the first site visit to the final handover, our team handles everything — you just enjoy the view.
Dapatkan quotation percuma hari ini. WhatsApp kami sekarang untuk tempah lawatan tapak percuma di kawasan anda.